Psicomagia Residence
by
Estudio Martin Gomez Arquitectos
Finally, my first animation.
After attended the last few classes of computer application, I've got some basic idea on how my animation should be. Was being too ambitious and wanted to create various kind of effects, like sand dust, and fireflies flying around the name of the building as the ending. Of course, the learnings have been obstructed by limited time. The plan of creating sand dust has been cancelled.
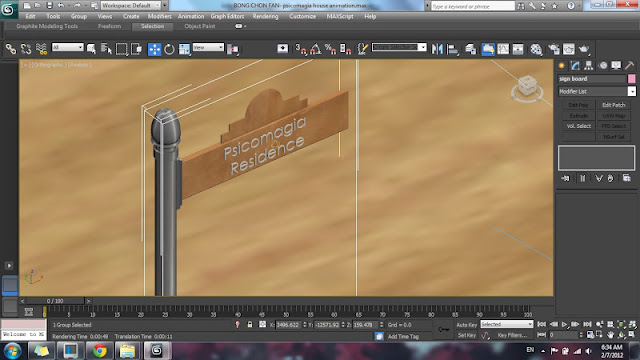
The storyline, is letting a car to slowly bring the scenes to the building. A signboard has been created to show the name of the building.
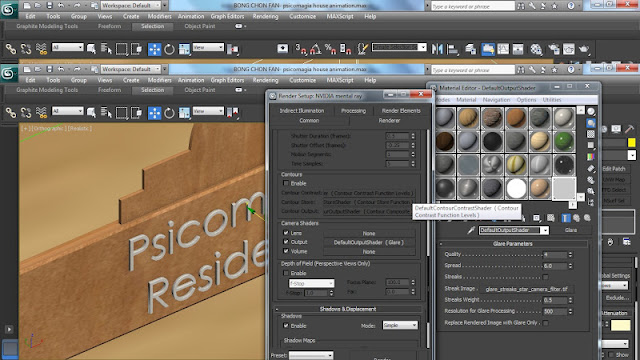
Was trying to play with the "Glare Output" for the signboard and also the car body. It gives photorealistic glare effect but unfortunately, it is too hard to control when it comes to a wide angle view, which shows the whole landscape. The ground or the sea will normally be overexposed.
Figures above showing the difference between renderings with glare output and without glare output.
A line has been drawn as the route for the car. The car is attached to the line/route through path constraint. Then, the "auto key" is switched on and the key frame is moved to the end of the bar. The car's position is moved to the end of the line, which is facing the Psicomagia Building. Tyres are rotated as well.
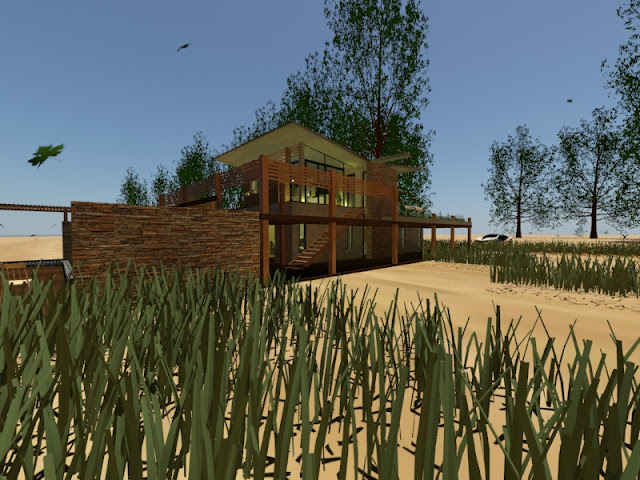
I wanted to create flying leafs to bring a dramatic effect to my building. To do that i need to look for a leaf picture from the internet, and duplicate a black and white version through photoshop.
1. First I draw a plane.
2. Then press "M" to open the material box, and click the right box besides "diffuse". (This is in "standard" mode, not "arch and design")
3. Select the leaf image.
4. Assign the material to the plane created.
5. Go to "opacity">bitmap and select the photoshoped image of the leaf (black and white), this is to get rid of the background of the leaf.
6. Assign the material to the plane again.
7. Adjust the size of the leaf
SUPER SPRAY
In order to make leaf flying around i've used super spray system.
1. I go to Create Panel>Geometry>Particle Systems>Super Spray in the top viewport.
2. I've applied the following parameters to it (Make a selection> Modify Panel)
First I scrolled down to Particle Type
Check "Instanced Geometry"
and click "Pick Object" to select the leaf as my spraying object.
Then i've changed the following parameters:
Particle Formation:
Off Axis: 2.0
Spread: 35
Off Plane: 23.0
Spread: 71
Icon Size: 6400
Viewport Display
Check "mesh"
Particle Motion:
Speed: 10000.0
Variation: 0.37
Particle Timing:
Emit Start: 0
Emit Stop: 300 (as i need to render a 300 frames animation)
Display Until: 300
Life: 300
Particle Size:
Size: 0.005
Variation: 0.45 (as i wanted to create leafs with different sizes)
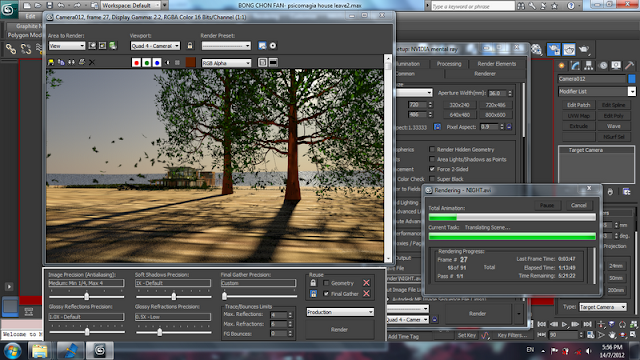
Later I located the super spray system to an appropriate place which is near the tree. And here's the effect. :)
Camera Path
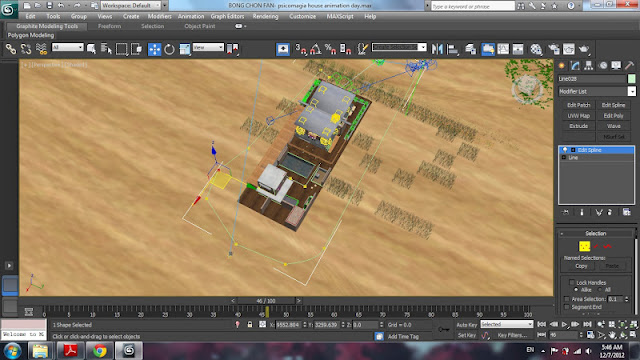
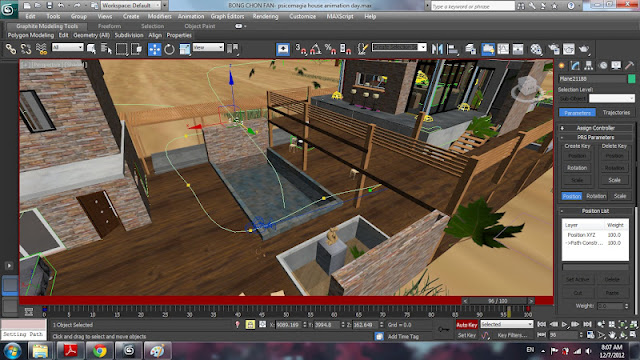
Next, a few lines has been drawn as the camera path. Eg: A line that surrounded the building, and a line that directs a leaf to drop into the pond. Since there's a water dropping sound in my soundtrack I've decided to make a leaf drop onto the surface of the water.
The position of the sun is adjusted to provide lighting to the pond.
As mentioned earlier, I want to create a fireflies effect for my last scene. And here I am going to explain how i did that.
1.To create a Text shape, I go to Create Panel>Shapes>Splines>Text).
2. Modify the text by selecting the text, and go to "modify panel".
I've adjusted the following parameters:
Interpolation:
Steps: 14 (as I want to do a higher resolution render)
Parameters:
Font: Century Gothic
Alignment: Center
Size: 30
Text: Psicomagia Residence (the name of my building)
At this moment, the text is still flat and cannot be seen in renderings. To create a 3d text, i have added "bevel" modifier to the text.
1. Select the text>Modify Panel>Modifier List>Object-Space Modifier>Bevel)
2. Next, I have adjusted the following parameters to the text:
Parameters:
Surface
Curved Sides: YES
Segments: 10 (Again, i want to do a higher resolution render)
Smooth Across Levels: YES
Bevel Values:
Level 1
Height: 2
Level2
Height: 0.6
Outline: -0.3
Then I aligned the 3d text to the wall. The material assigned to it is "silver".
Next, to create the fireflies effect of course I am not using the fireflies image as my material, but creating self illuminated spheres.
I have created a super spray system besides the text, and the following parameters has been applied:
1. Select the super spray> Modify
Viewport Display: Ticks
Particle Generation
Particle Quantity:
CHECK "Use Total" and change the value to 1000.
Particle Motion:
Speed: 4.0 (Fireflies won't fly in high speed ._.)
Particle Timing:
Emit Start: -500
Emit Stop: 0
Display Until: 100
Life: 500
Particle Size:
Size: 0.5
Unlike the one for the leaf, the particle type in this context is "Standard particle". Then I have chosen "sphere" as the particle type.
Next I assigned a self illuminating material to the super spray system. I checked the "self illumination (Glow)" and increase the luminance to the value of 90000.0.
Then I draw a curvy line which will be the travel path for the spheres. The curvy line is created by using "Bezier".I put the "Super Spray System" to the starting point of the line, which is on the right top of the wall.
Later I create a path follow object (create panel>Space Warps>Forces>Path Follow) and i bind the super spray to the path follow object by using the "Bind to Space Warp".
1. Activate "Bind to Space Warp" in the main toolbar.
2. Click and hold on top of the super spray.
3. And release it over path follow object.
And this is what i got in my viewport. :)
Magix Movie Edit Pro 17 is used to join the renderings. The videos are arranged properly to respond to the music. The main focus will be on the exterior of the building as there are a lot of detail on the exterior of the building that i want to focus on. Some of the videos are speed up or slow down to follow the tempo of the music, and a sunset scene is arranged at the chorus part to create greater visual impact.
And that's about it. Was heaving a sigh of relief after I have uploaded the video. Sorry, for being late. The moment of completing an animation was great, really great. It is sometimes an awkward moment when I know that I need to finish it faster but the only thing i can do is looking at the screen and wait. Thank you Mr. Koh, for being considerate enough and gives us one more week to complete this assignment.
and thanks, for being my lecturer. :)
谢谢细心的园丁
小树会努力成长 :)


